I tend to get obsessed when I find something that enchants me.
They are really well made. Really, really well made. You should buy them if you don't have time to make them, as these are made out of metal and are ideal for most things.

However, mine are going into the surprise ball favors that I am making for our Disney wedding and I have to be budget concious about them. $2 each is too much when added to all the other ingredients. My fiance is only going to be patient with so much on my big giveaway basket spending spree.
So, I made my own. Not "quite" as nice as the ones from Etsy, but I'm pretty happy with them. The supplies are enough to make about 48 wands for about $7 total, with lots to spare. If you buy extra stars, you can make about 250 and still have paint left. Here's what mine looked like when completed:

Most of the supplies came from the same craft store. They give out lots of coupons, so be sure to research that before you go, because their prices are the highest of the mainstream craft stores. This was all 20% off with the coupon, which I get via text.

Materials:
- Foam glitter stars (2 for each wand - bought from JoAnn fabric in a pack of 96 and have sticky backs, but you can use glue or even cut some out of foam with your Cricut if you have one)
- Tiny dowels (Also from JoAnn's and the size are 5/64 x 2 5/8)
- Gold paint (I used Martha Stewart in Bronze, also JoAnn's)
- Paint brush
- Clay (any will do. I happened to have Model Magic already at home, which works perfectly and is reusable, so that's what I recommend.)
- Scissors (not pictured)
And away we go ....

1. First, open your clay. You'll need about the size of a ping pong ball.

2. Roll it out into a cigar shape. Now flatten slightly, so it sticks to the table. This will be your base for your wand sticks. It is not actually part of the wand. It just keeps your sticks from laying on the table and the paint getting messed up. You may need to make more than one, depending on the length. It's usually better to keep the base about your finger length, no longer.

3. Insert your sticks vertically into the clay with enough space between them to paint comfortably. Only push about 1/8" or a little more deep. They don't weigh much.
4. Commence painting on all sides. Don't forget the tip! Don't worry about what's buried in the clay, we trim that off anyway. Allow to dry. I did two coats.
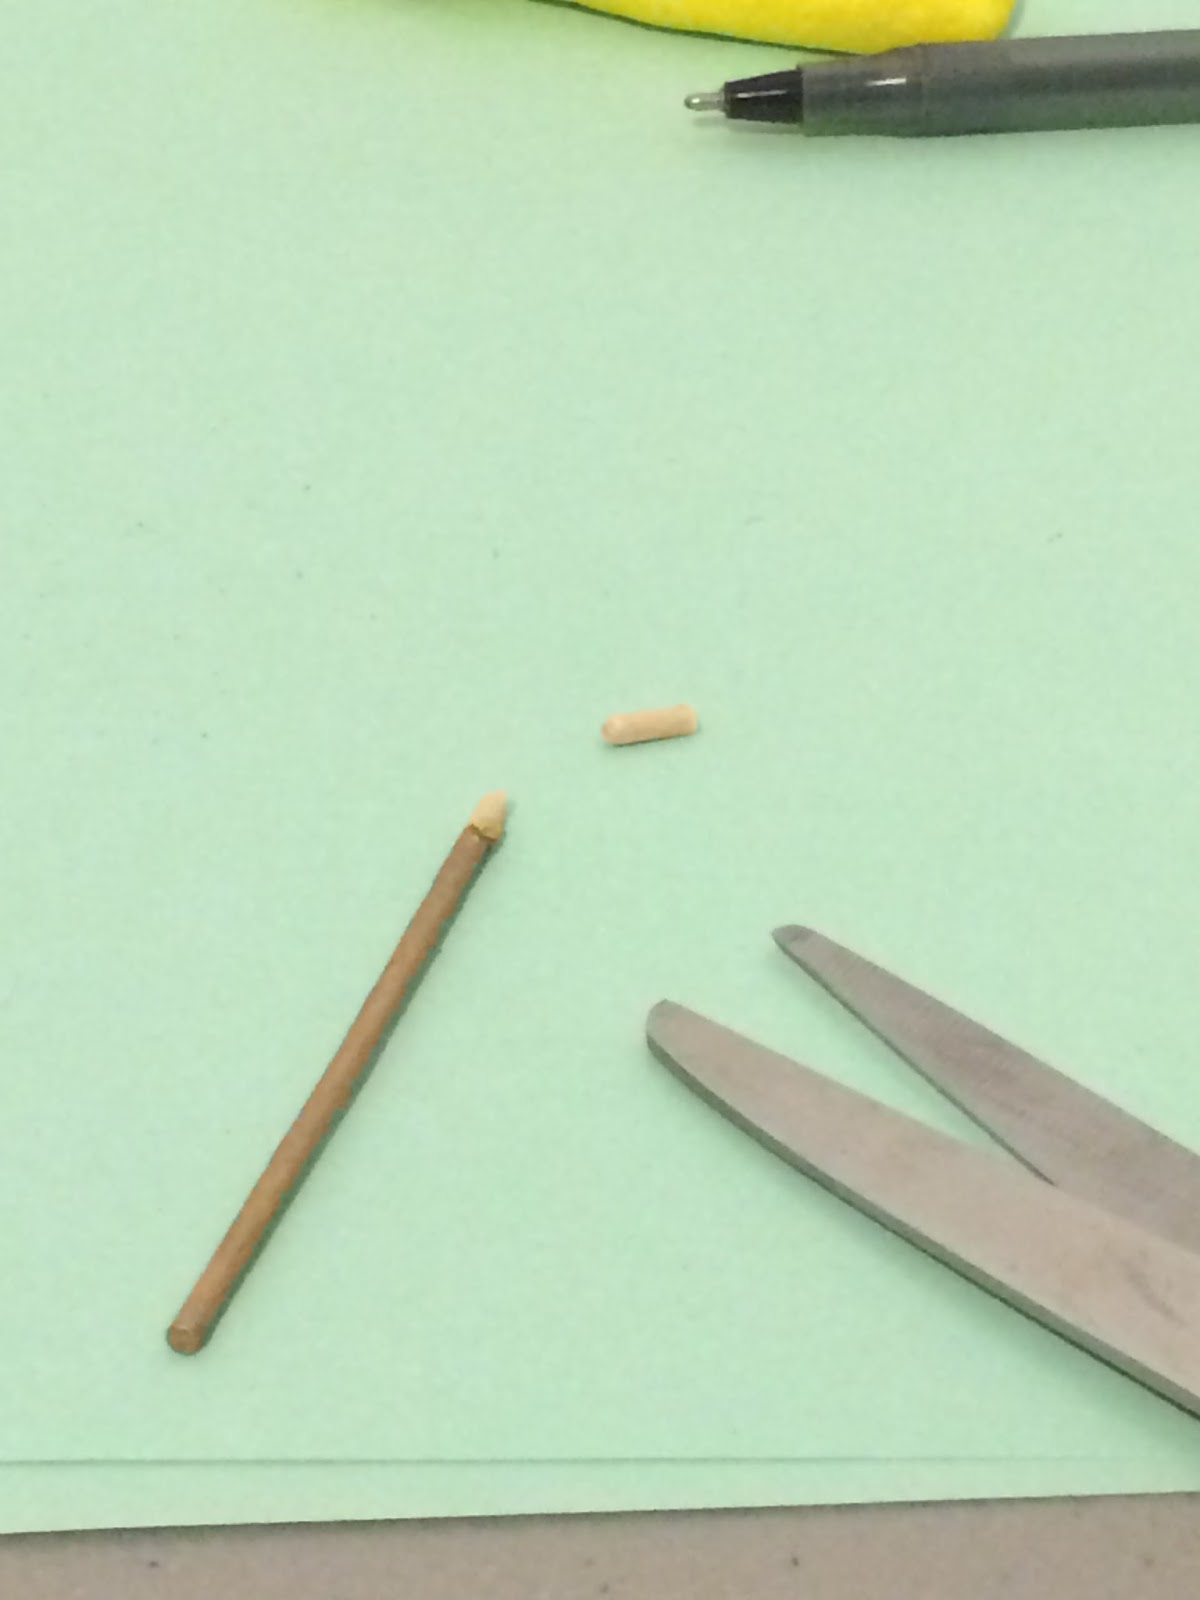
5. Once dry (at least overnight) pull from the stand you made and nip off part of the tip. You don't have to nip off the whole unpainted end, because part of it will be covered by the star.

6. Now lay your star flat on the table and center the stick. Add glue if necessary.

7. Align the second star over the first and press down. If using glue, you might need to lay a book over them to let them set while you allow them to dry.

8. Done!

I added a little label and put mine in little clear packets.
I also have a video tutorial here:
No comments:
Post a Comment